Port-Forward Access
When to Use
Local development, quick testing - no need to configure Ingress or a LoadBalancer. Ideal for developers to connect directly to the K8s Sentinel service inside the cluster from their local machine.
Step 1: Run Port-Forward
Map the in-cluster Service to a local port:
kubectl port-forward -n sentinel-system svc/sentinel 8080:80
Why: kubectl port-forward creates a tunnel on your local machine that forwards packets through the Kubernetes API Server to the Pod. The command occupies the terminal for the duration of the connection - close the terminal or press Ctrl+C to disconnect.
Step 2: Open in Browser
Enter the following in your browser:
http://localhost:8080
Default credentials:
| Field | Default Value |
|---|---|
| Username | admin |
| Password | admin |
On the first sign-in with the default account, the console forces you to set a new password (at least 8 characters) before it opens; see Sign In to K8s Sentinel.
Step 3: Confirm the Login Screen
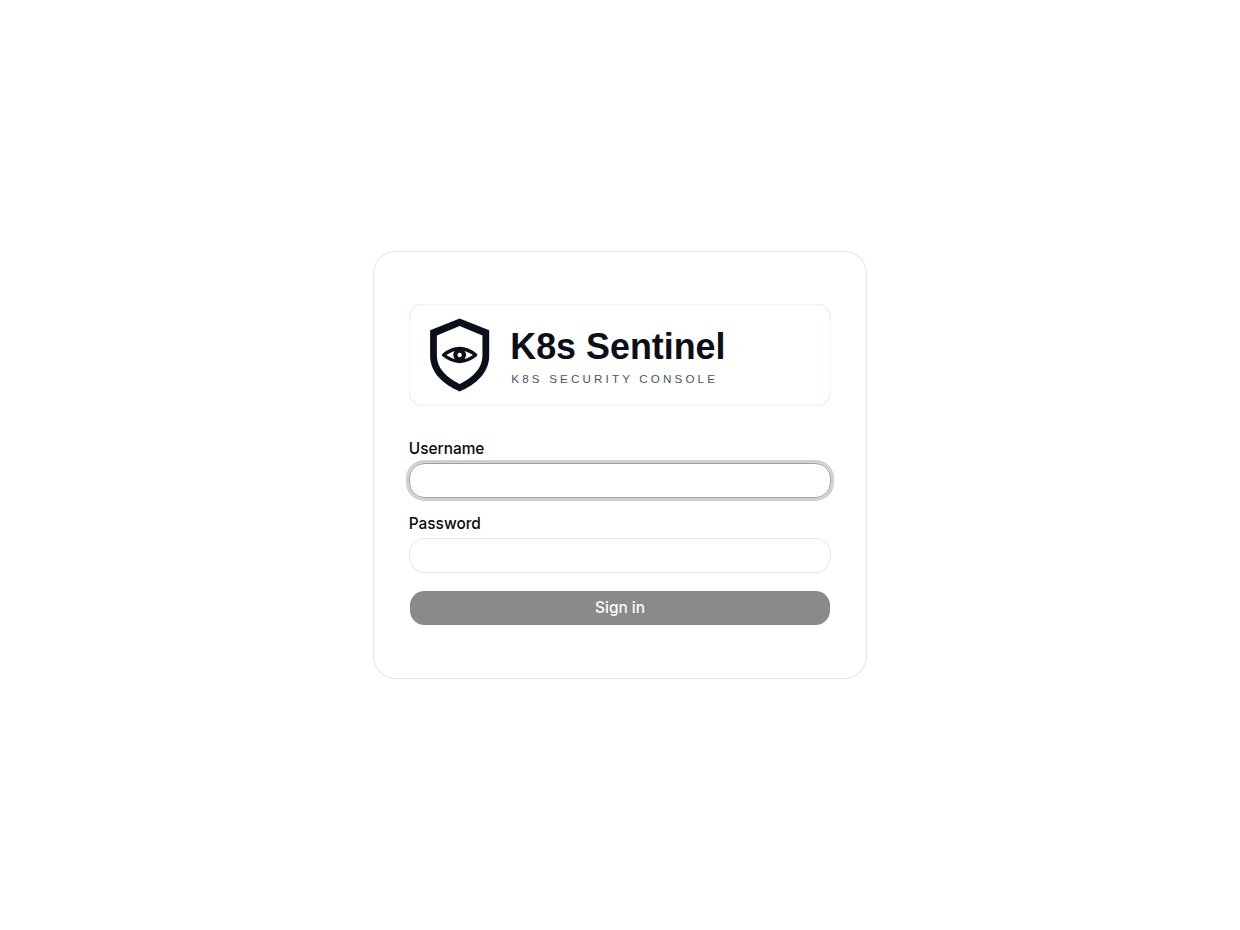
Enter your Username and Password, then click Sign in to complete login.
Why: K8s Sentinel uses JWT (JSON Web Token) for authentication. After a successful login, the token is stored in the browser's localStorage and automatically included in the Authorization header for all subsequent requests.
Running in Background
To avoid occupying a terminal, run port-forward in the background with &:
kubectl port-forward -n sentinel-system svc/sentinel 8080:80 &
To stop the background port-forward, bring it to the foreground with fg then press Ctrl+C, or terminate it with kill %1.
port-forward is only suitable for single-user local access, not for multi-user shared or production environments. For production, use Ingress access instead.